Initial Server Setup with Debian 12 (9 things todo)
In this tutorial, I will show you the initial server setup with Debian 12. This will be 9 things you must do to ensure your Debian server is ready for production.
Without further ado, let’s dive in.
Prerequisites
Before proceeding, make sure that you have installed Debian server on your machine and have an internet connection on top of it.
Updating repository and upgrading packages
To initial the process, run the command below to update the Debian package index and get the latest package information. Then, upgrade packages on your system.
apt update && apt upgrade -y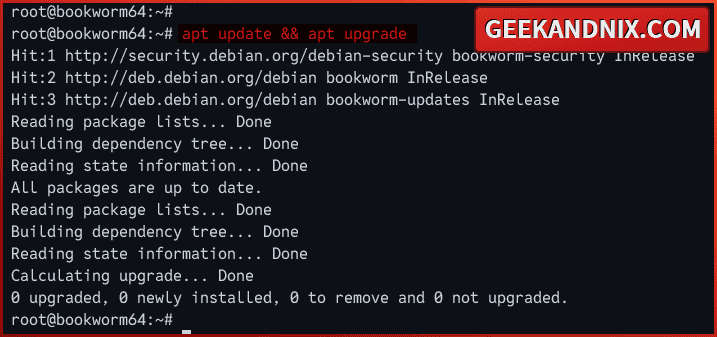
Installing basic utilities
After upgrading packages, you will install basic utilities for managing the Debian server. Here are my lists:
- Text editor – it is always good to have both
vimandnanoinstalled. - net-tools – ifconfig and netstat are part of net-tools. Sure you can use the ip or ss command, but net-tools is also a good alternative.
- lsof or list open files – checking list opened files or open ports by services or process.
- wget and curl.
- gnupg2 and apt-transport-https – used when adding third-party repositories.
Run the following apt command to install basic utilities.
apt install nano vim net-tools lsof unzip wget curl gnupg2 apt-transport-https -y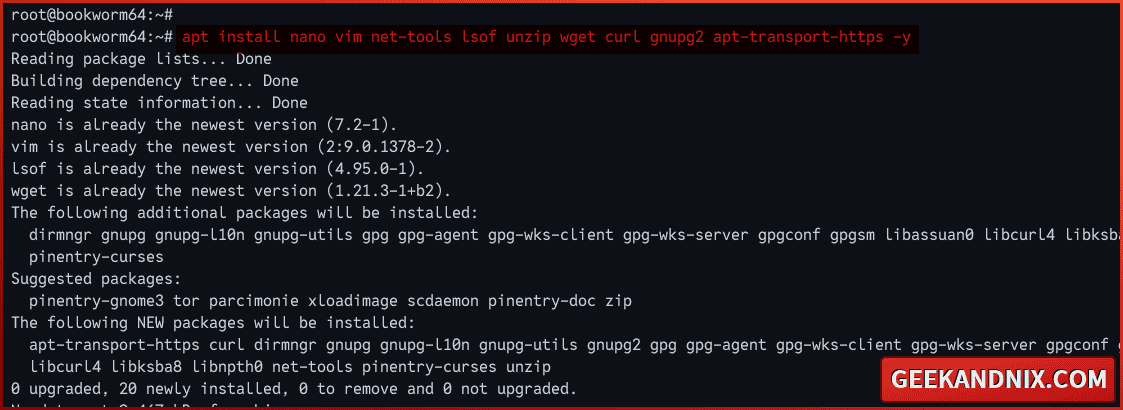
Disable Banner Login
This is optional, but if you want to get rid of a welcome message when logging into the server, do this:
Create the file ~/.hushlogin using the command below. This file must be located in the home directory of your user, for example /home/arvidl/.hushlogin.
touch ~/.hushloginSetting up FQDN (Fully Qualified Domain Name)
Setting up a proper fqdn or fully qualified domain name is always recommended for the long-term run. You can have a fancy local domain name for your Debian server, such as bookworm64.geekandnix.com. You also get more benefits when running multiple servers.
To set up fqdn on the Debian server, follow these steps:
1. Run the hostnamectl command below to change your hostname and default domain. In this example, I will use the hostname bookworm64 with the default domain geekandnix.com.
hostnamectl set-hostname bookworm64.geekandnix.com2. Now, open the /etc/hosts file using vim.
vim /etc/hostsAppend the following configuration to the bottom of the line. Make sure to change the details IP address, fqdn, and the system hostname.
# server ip  fqdn                      hostname
192.168.5.20 bookworm64.geekandnix.com bookworm64
When done, save the changes and exit the file.
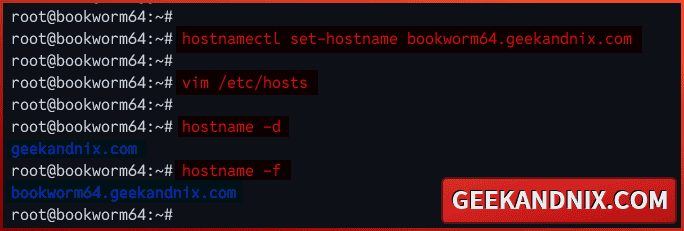
3. Lastly, run the following command to check the default domain and system fqdn.
hostname -d
hostname -f
As you can see below, I have a default domain geekandnix.com with the fqdn bookworm64.geekandnix.com.
Setting up PATH environment variable
On the Debian server, sbin directories /usr/sbin and /usr/local/sbin are not included in the system PATH environment variable. This causes an error command not found when running commands such as reboot or shutdown, which is located on both sbin directories. To solve this issue, you must add both /usr/sbin and /usr/local/sbin directories to the system PATH.
To add /usr/sbin and /usr/local/sbin directories to the system PATH, execute the following:
1. Create a new file /etc/profile.d/path.sh using vim. This file will be loaded system-wide automatically when starts.
vim /etc/profile.d/path.shInsert the following configuration to add sbin directories /usr/sbin and /usr/local/sbin to the system PATH.
export PATH=$PATH:/usr/sbin:/usr/local/sbinSave the file when done and exit.
2. Now, run the command below to apply your modification.
source /etc/profile.d/path.sh3. Finally, run the command below to verify the current system PATH.
echo $PATHYou should see directories /usr/sbin and /usr/local/sbin added to the system PATH. With this, you can now run commands within sbin directories.

Setting up sudo
For every Linux user, the sudo command will always be in their head whenever needed to execute a command line or application as a privileged or administrator user.
On the Debian server, sudo is not installed by default, so here is how you do it:
1. Run the apt command below to install sudo packages.
apt install sudo -y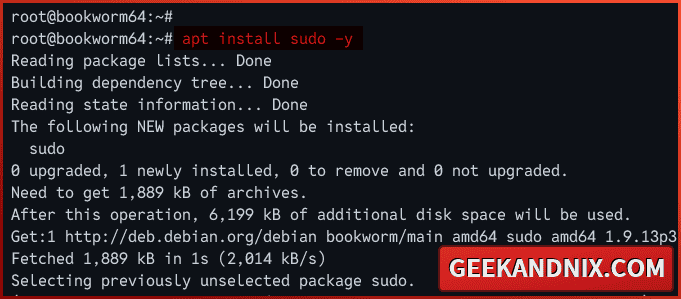
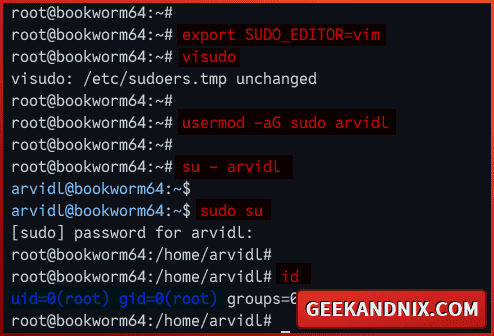
2. Once sudo is installed, run the visudo command below to modify the sudo config file /etc/sudoers. Always use visudo when editing the sudo configuration, and do not edit the /etc/sudoers directly.
export SUDO_EDITOR=vim
visudo
Uncomment the following line to allow users within the sudo group can execute the sudo command and get the root privileges.
%sudo ALL=(ALL:ALL) ALLSave and exit the file when finished.
3. Now, run the usermod command below to add your user to the sudo group. In this case, I will set up user arvidl to execute the sudo command.
usermod -aG sudo arvidl4. Then, log in as a normal user with the command below.
su - arvidl5. Lastly, run the sudo su command to get the root privileges and execute the id command to verify your current user.
sudo su
id
If your configuration is successful, you should become root like the following:
Securing SSH Server
SSH or Secure Shell is the gateway to your server, so making it secure is the top priority. How? You will change the default SSH port, disable root login, and only use strong and recommended algorithms on your SSH settings.
To secure SSH, proceed with the following steps:
1. Create a new additional configuration for SSH /etc/ssh/sshd_config.d/secure.conf using vim.
vim /etc/ssh/sshd_config.d/secure.confInsert the following configuration to secure your SSH server. This setting is based on Mozilla OpenSSH security recommendations for modern servers.
Port 3896
PermitRootLogin no

# Supported HostKey algorithms by order of preference.
HostKey /etc/ssh/ssh_host_ed25519_key
HostKey /etc/ssh/ssh_host_rsa_key
HostKey /etc/ssh/ssh_host_ecdsa_key

KexAlgorithms [email protected],ecdh-sha2-nistp521,ecdh-sha2-nistp384,ecdh-sha2-nistp256,diffie-hellman-group-exchange-sha256

Ciphers [email protected],[email protected],[email protected],aes256-ctr,aes192-ctr,aes128-ctr

MACs [email protected],[email protected],[email protected],hmac-sha2-512,hmac-sha2-256,[email protected]
Save and exit the file.
Detailed sshd_config options:
Port 3896: change the default SSH port to 3896. You can adjust this as you need.PermitRootLogin no: disallow userrootto login via SSH.Hostkey: Only strong HostKey algorithms will be allowed, which areed25519,rsa, andecdsa.KexAlgorithms: specify KEX (Key Exchange) algorithm.Ciphers: specify allowed ciphers.MACs: specify the default MACs (Message Authentication Code) algorithm.
2. Now, run the command below to delete the default SSH host keys and generate new keys based on the HostKey configuration.
rm /etc/ssh/ssh_host_*
ssh-keygen -A
3. Next, run the command below to restart the SSH and apply your changes. Once executed, your SSH will be running on custom port 3896.
systemctl restart sshd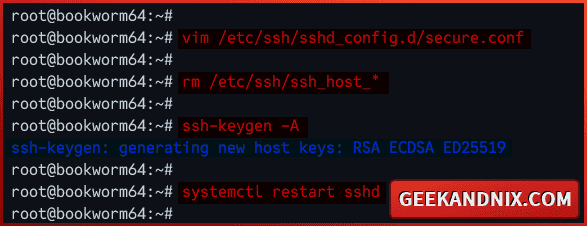
4. Lastly, run the ss command below to check the list of open ports on your system.
ss -tulpn | grep sshdAs you can see below, the sshd program is running on port 3896.

Setting up UFW (Uncomplicated Firewall)
After you have secured SSH, you will set up a firewall and secure your Debian server. For easier and more convenient usage, you will install and use UFW (Uncomplicated Firewall) as the default firewall on your Debian.
To set up UFW on Debian, follow these actions:
1. Run the apt command below to install UFW (Uncomplicated Firewall) to your Debian server.
sudo apt install ufw -y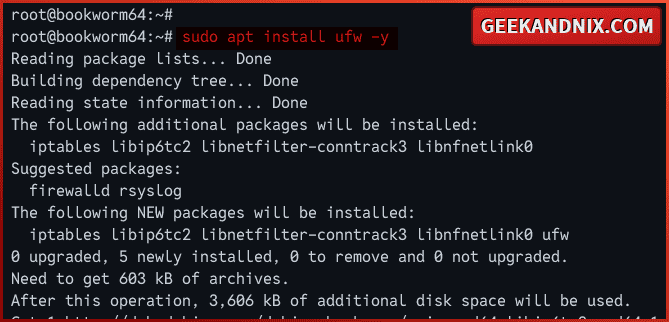
2. Once installation is complete, run the ufw command below to open the SSH port and allow traffic into it.
# enable profile OpenSSH
sudo ufw allow OpenSSH

# add custom port for SSH 3896/tcp
sudo ufw allow 3896/tcp
3. Now, run the command below to start and enable UFW. With this, your UFW should be run and start automatically at system boot.
Type y to confirm with the process.
sudo ufw enableOnce started, you should get an output Firewall is active and enabled on system startup.

4. Next, run the ufw command below to verify the UFW status. You should see UFW status Active with the SSH port 3896 enabled.
sudo ufw status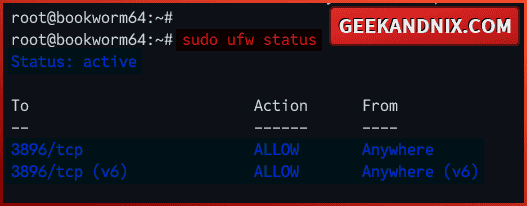
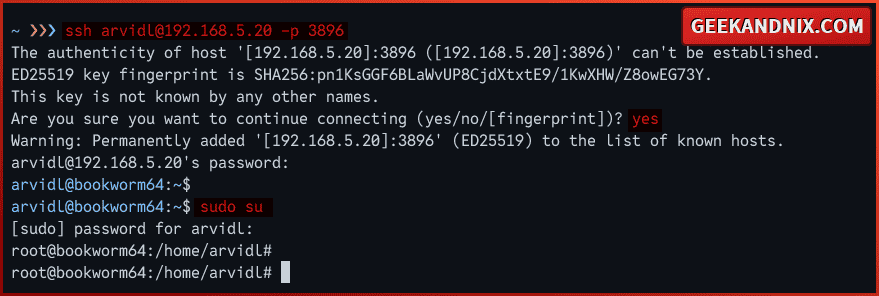
5. With the UFW active and SSH port enabled, let’s log in to the server via SSH again.
Open a new terminal or new tab and connect to your Debian server via the ssh command below. Input your password when prompted.
ssh [email protected] -p 3896Once connected, your configuration of SSH with a custom port and UFW is successful.
Optional: Setting up Syslog
The new Debian logging system has been moved from syslog to systemd journal. That’s why you didn’t find the log file such as /var/log/syslog or /var/log/messages on your machine.
Whether you’re using systemd journal or Syslog, it’s important to know how to check log files for debugging.
1. If you’re using a systemd journal, run the journalctl command below to view and check the logs of your services.
# print all logs of sshd service
journalctl -u ssh

# print last logs of sshd service
journalctl -t -u ssh
2. Optionally, if you want to go old-school and use log files, then install rsyslog with the following command.
sudo apt install rsyslog -y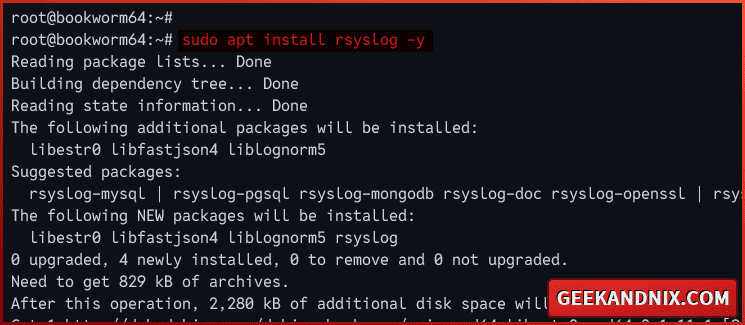
3. Then, run the command below to ensure that the rsyslog service is running and enabled.
# checking if rsyslog is enabled
sudo systemctl is-enabled rsyslogd

# checking rsyslog status
sudo systemctl status rsyslogd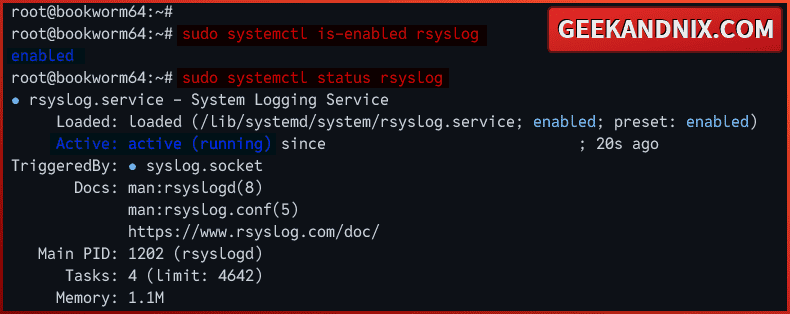
4. Lastly, check log files within the /var/log directory with the command below.
# print all log /var/log/syslog
cat /var/log/syslog

# print last log of /var/log/syslog
tail -f /var/log/syslog
Conclusion
In this tutorial, you have initialized the Debian server with the installation of basic system utilities, setting up fqdn and system PATH, configuring sudo, securing the SSH server, implementing firewall via UFW (Uncomplicated Firewall), and setting up Syslog.
What’s next? I suggest you install fail2ban for blocking brute-force attacks, then configure NTP (Network Time Protocol) via Chrony to ensure you have the correct time.
