How to Install Ubuntu 24.04 Server (Step-by-Step)
The new version of Ubuntu LTS (Long Term Support) just came out, Ubuntu 24.04 (Noble Numbat). It comes with major bug fixes, security enhancements, new versions of packages, and kernels. This Ubuntu LTS version will be supported for 5 years until June 2029.
Listed below are some changes from the official Ubuntu 24.04 server ReleaseNotes:
- New Kernel 6.8.
- New installer (for Desktop version).
- Toolchain updated: GCC 14, LLVM 18, binutils 2.42, glibc 2.39, and rustc 1.75.
- Forcefully disabled old TLS versions 1.0, 1.1, and DTLS 1.0.
- Added the performance-tools metapackage for performance debugging.
- HA (High Availability) packages updated: Pacemaker 2.1.6, Resource agents 4.13.0.
- Container runtime updated: Containerd 1.7.12, runc 1.1.12.
- Programming Languages updated: PHP 8.3.6, Python 3.12, OpenJDK 21 LTS version, Golang 1.22, and Ruby v3.2.
- Database servers updated: MariaDB 10.11.7, MySQL 8.0.36, and PostgreSQL 16.2.
- Server packages: Apache 2.4..58, Nginx 1.24, Chrony 4.5, Dovecot 2.3.16, Exim 4.97, OpenLDAP 2.6.7, Samba 4.19 series, .
- Virtualization updated: QEMU 8.2.1, Libvirt 10.0.0, and cloud-init, 24.1.
Prerequisites
This tutorial will guide you step by step on how to install the Ubuntu 24.04 server (Noble Numbat). Before going any further, ensure that you meet the following system requirements:
- 2 CPUs
- Memory at least 2-4 GB.
- Free disk space of at least 5 GB or more.
- Internet connections (optional).
Now let’s deep dive into the step-by-step installation.
Step 0 – Downloading ISO for Ubuntu 24.04 server
Visit the official Ubuntu download page and download the ISO file for Ubuntu 24.04 server.

Once downloaded, create the USB bootable media, if you’re installing on bare metal. For virtualization users such as VirtualBox, KVM, and QEMU, create a new virtual machine (VM) and insert your ISO file as the first bootable media.
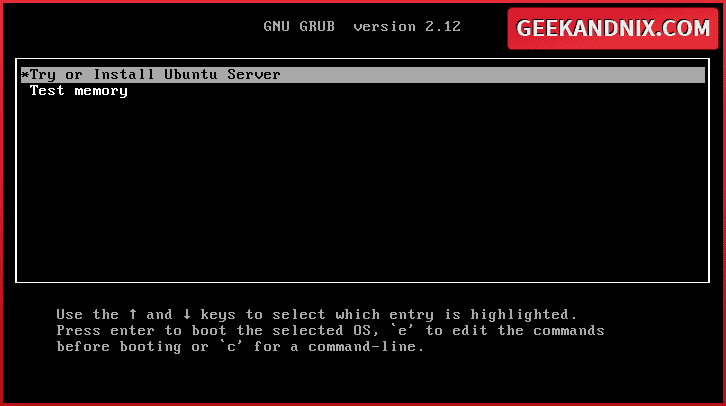
Now select Try or Install Ubuntu Server and press ENTER.
Step 1 – Configuring default language
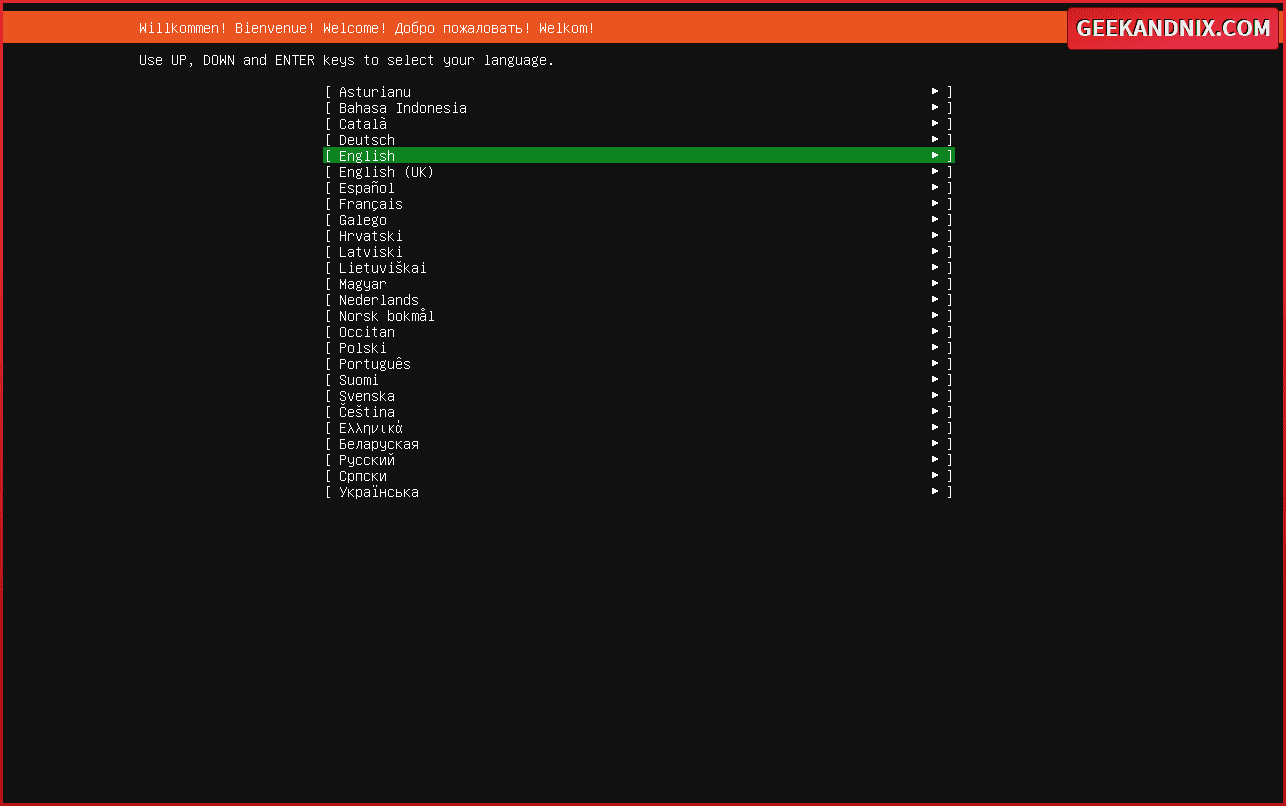
Note: Press the up and down button to move and press ENTER to confirm.
Select the default language that you will be using for your installation. The default language is English.
Step 2 – Configuring keyboard layout
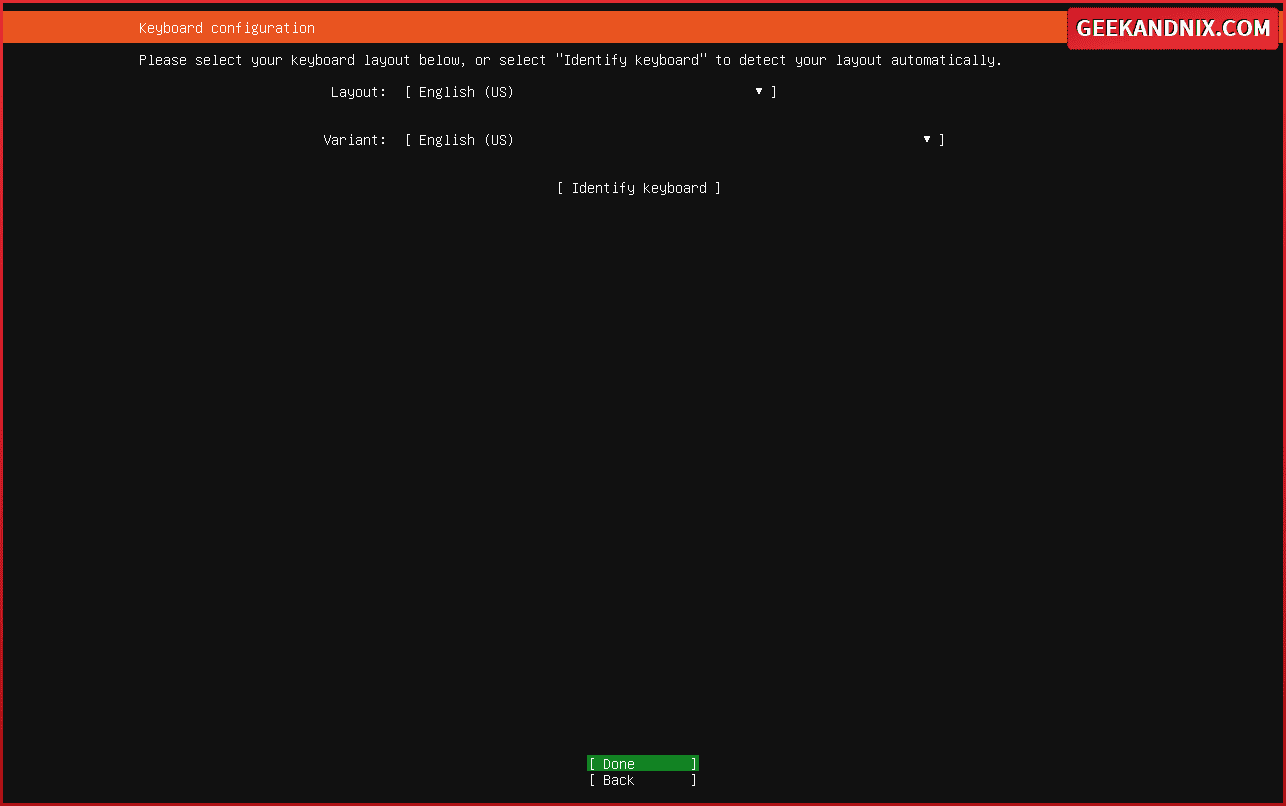
Note: Press the TAB button to move between the menu.
Select the keyboard layout and variant, then move the menu to Done and press ENTER.
Step 3 – Selecting base Ubuntu server installation
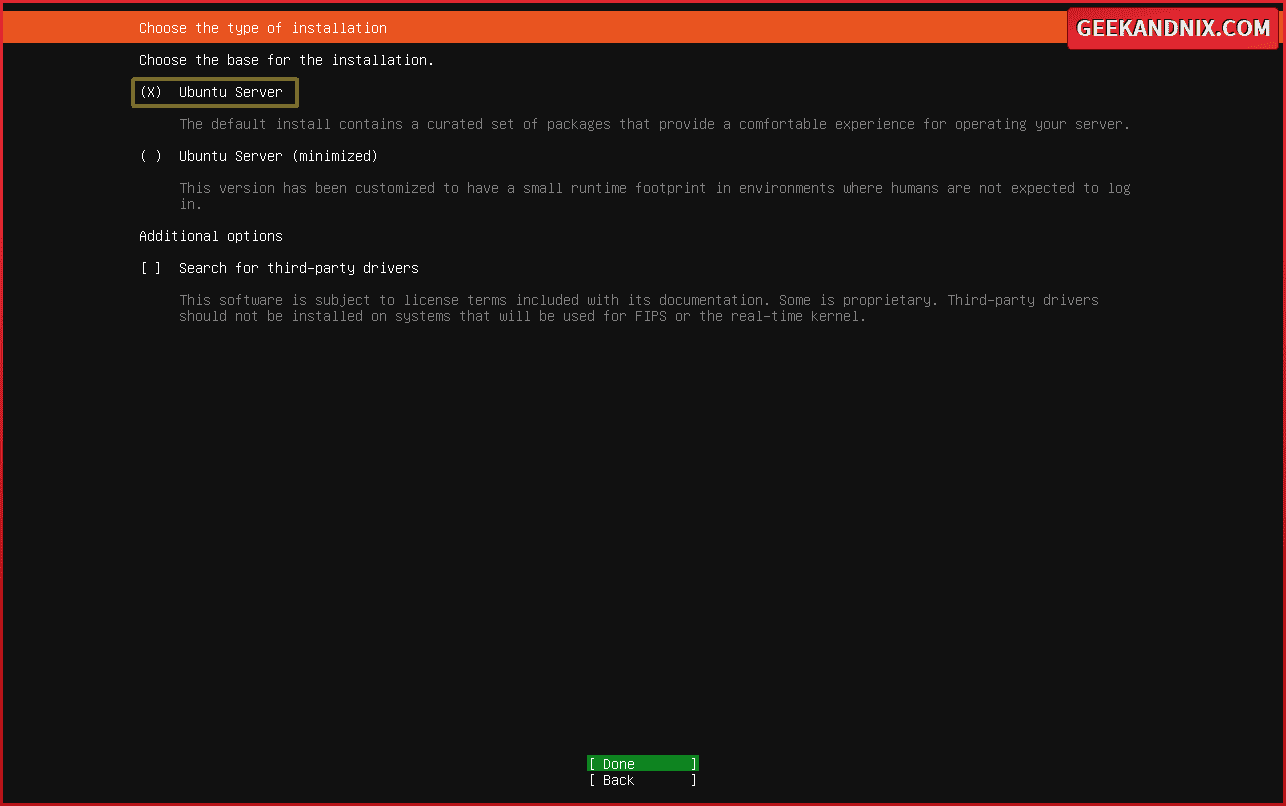
Note: Select the option with the SPACE button. The selected option is marked with an X.
Choose the type of base installation, then press ENTER to continue
- For a generic and standard installation, select the option ‘Ubuntu Server‘.
- As for experts who want to set up a minimal, select the option ‘Ubuntu Server (minimized)’.
Step 4 – Configuring network and IP address via DHCP
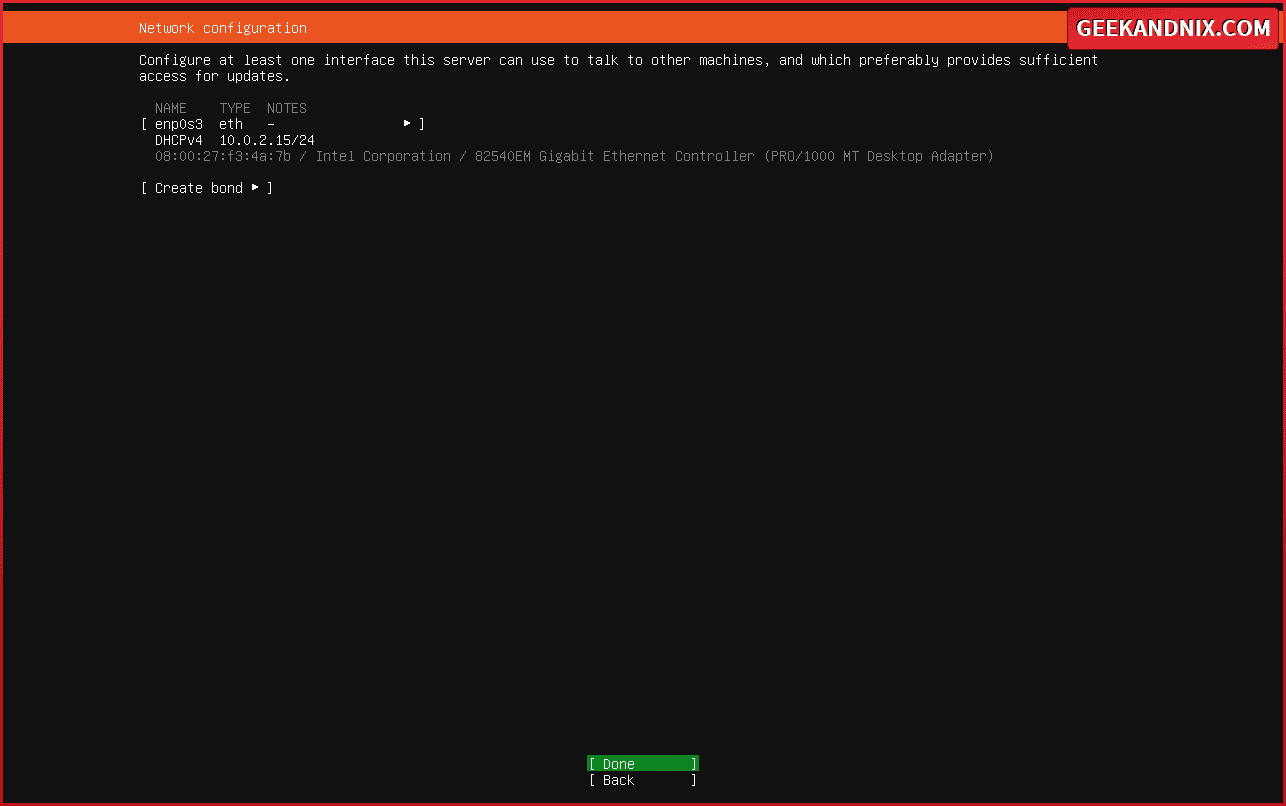
the Ubuntu installer will automatically detect available network interfaces on your machine. In this example, the interface enp0s3 is detected and gets the DHCP IP address 10.0.2.15.
Select Done and hit ENTER.
Step 5 – Skip: Proxy configuration
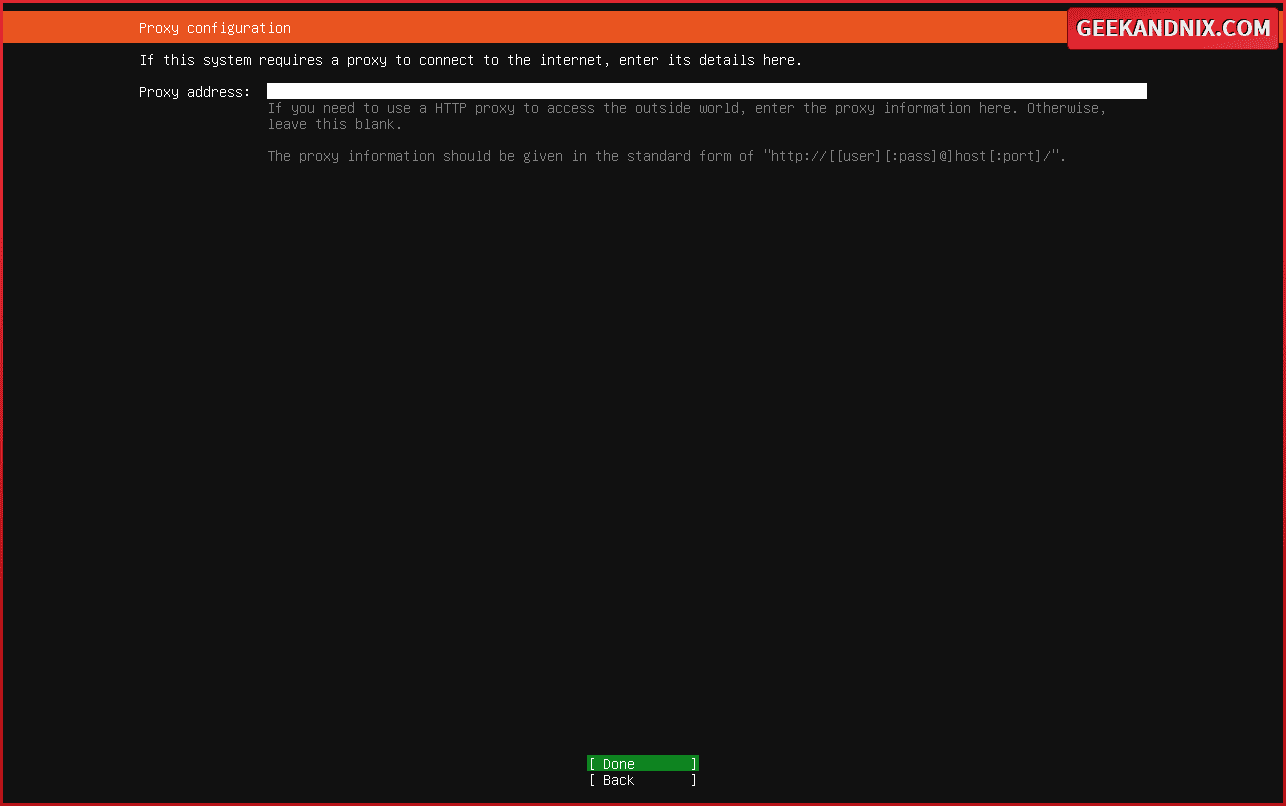
If you don’t have a proxy server, leave the Proxy address field blank, then press ENTER.
Step 6 – Configuring mirror for Ubuntu repository
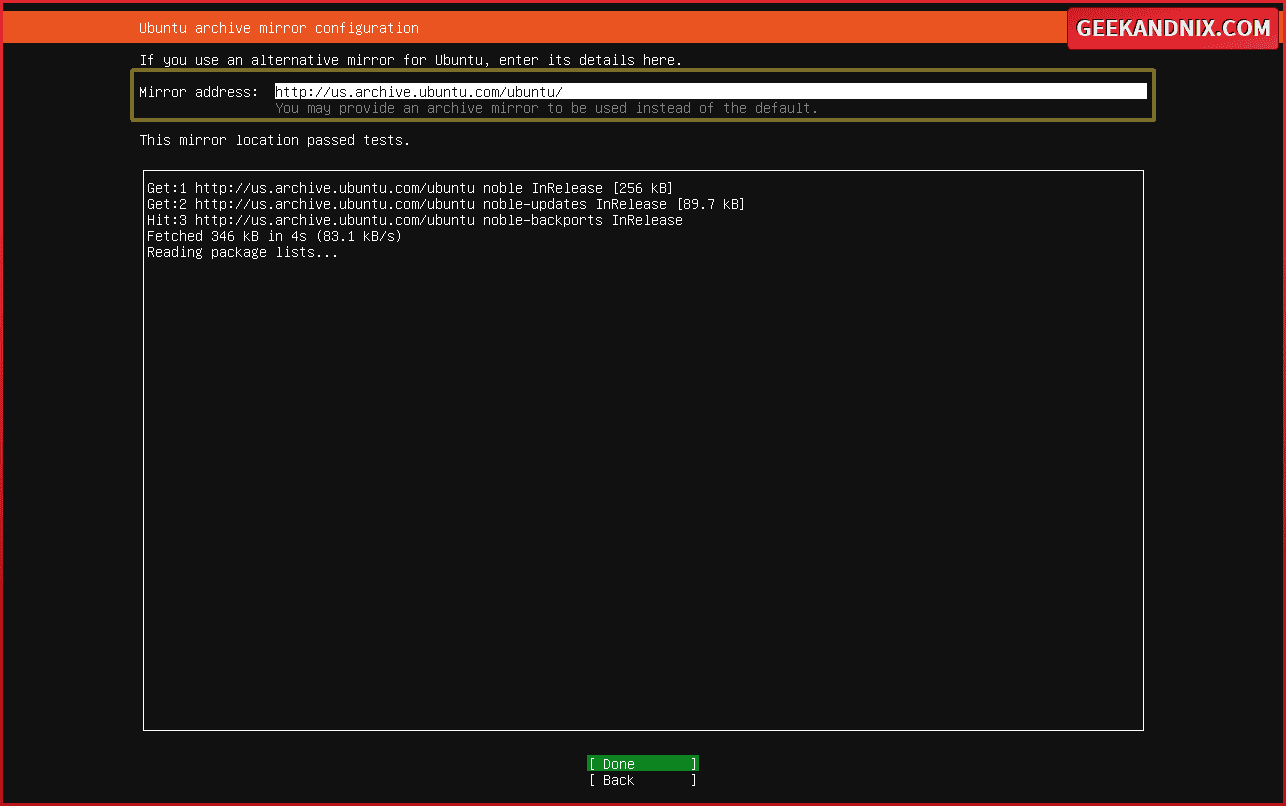
The installer will automatically assign available Ubuntu mirrors nearest to the server IP address (If you have an internet connection). But if you have a custom mirror, you can input the ‘Mirror address‘ field.
Input the nearest mirror of your current location to decrease connection latency when installing packages.
Select Done and hit ENTER to continue.
Step 6 – Configuring Disk Partition
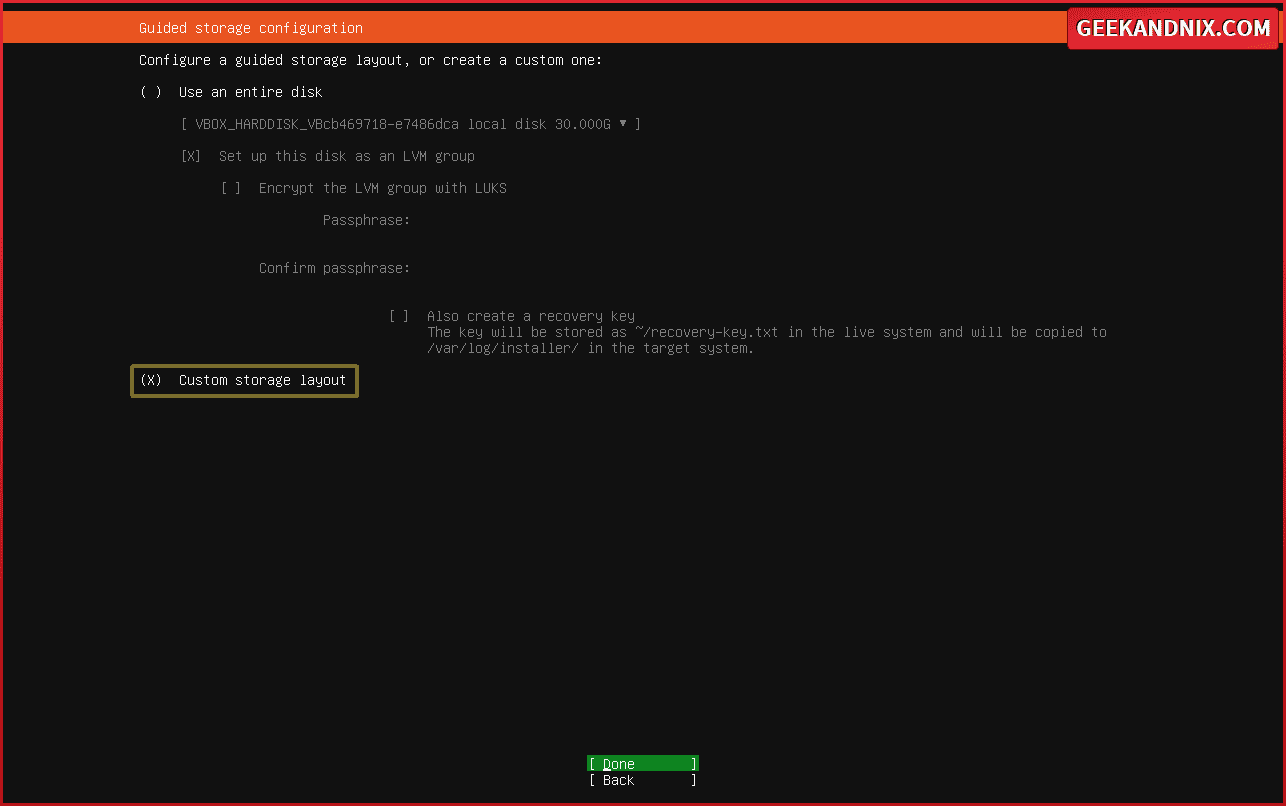
Now choose the storage configuration for your Ubuntu installation.
- Select ‘Use an entire disk‘ if you want to use a whole disk with default configurations.
- Select ‘Custom storage layout’ if you want to have custom disk partitions.
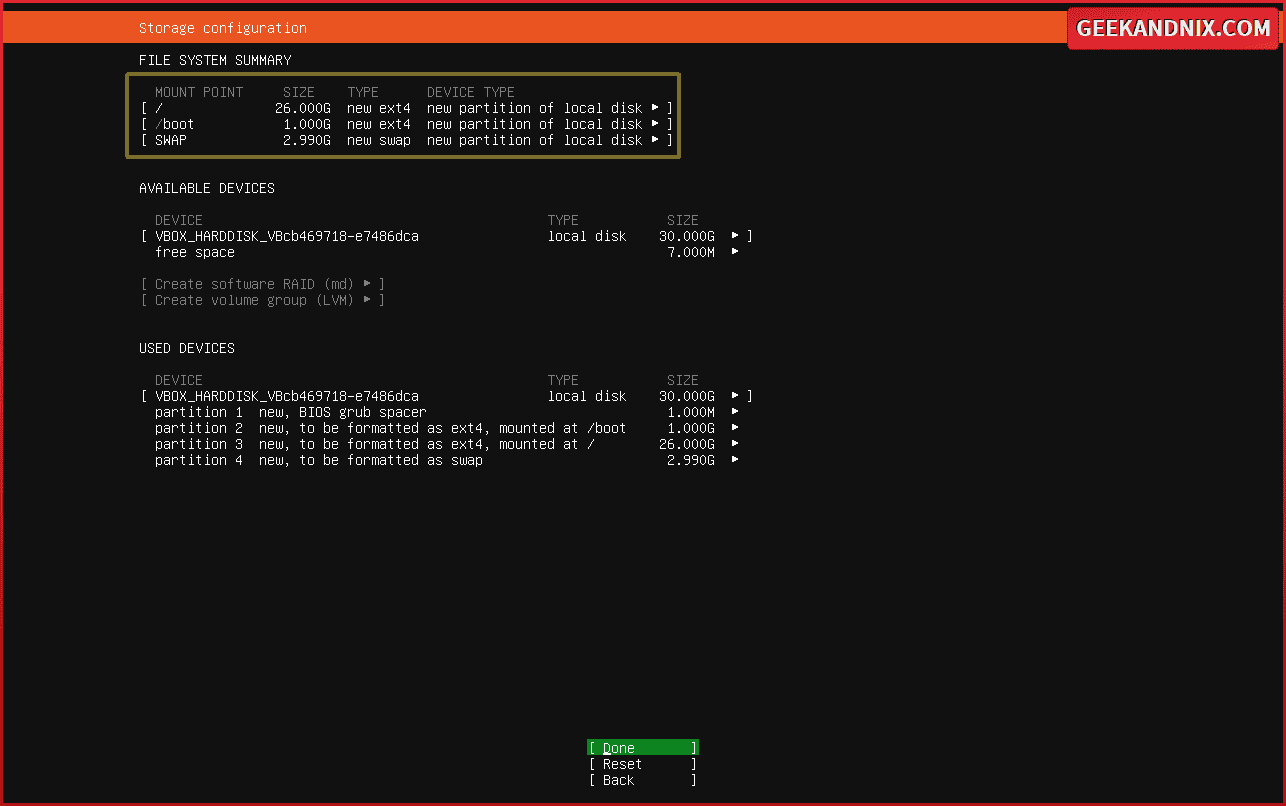
In this example, you will be using a ‘Custom storage layout‘ to create a specific partition for your Ubuntu installation. Below is the list of partitions that you want to create:
- /boot partition – size 1 GB.
- / or root partition – size 26 GB.
- SWAP partition – size 2-3 GB.
Select ‘Custom storage layout‘ and press ENTER to continue.
Select the available free space on your disk and press ENTER. Then select ‘Add GPT Partition‘ and press ENTER again to create a new partition.
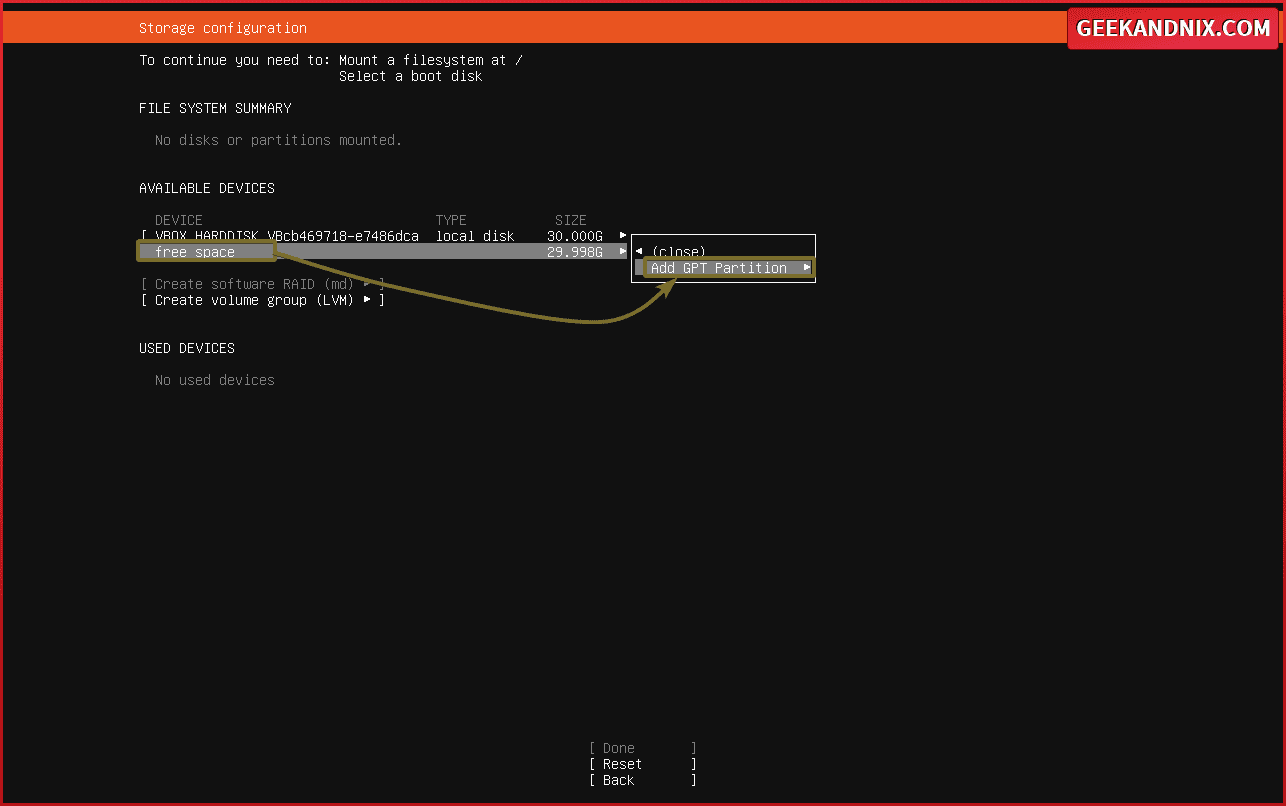
For the /boot partition, input the size as 1G with format ext4 and the mount point to /boot. Then select Create and press ENTER.
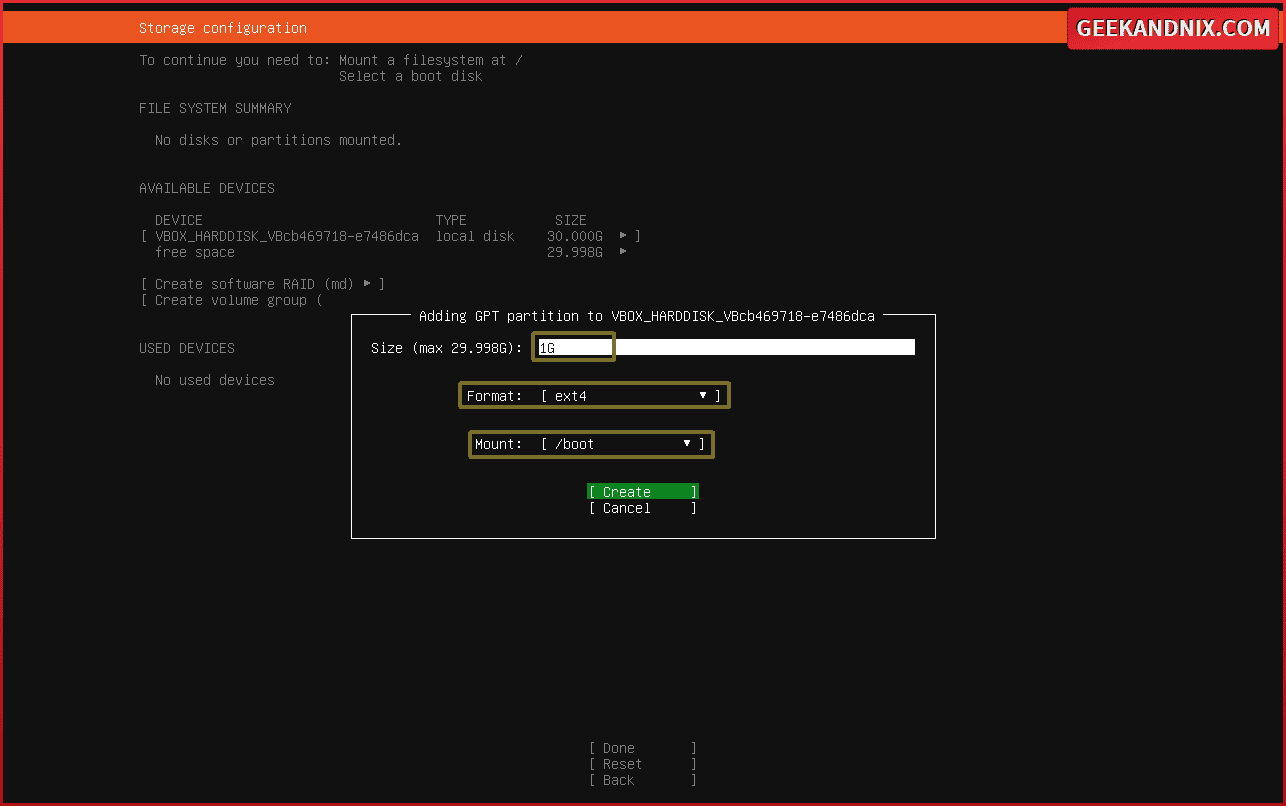
Now for the / or root partition. Input the size to 26G, select the format to ext4, and the mount point to /. Then select Create and hit ENTER again.
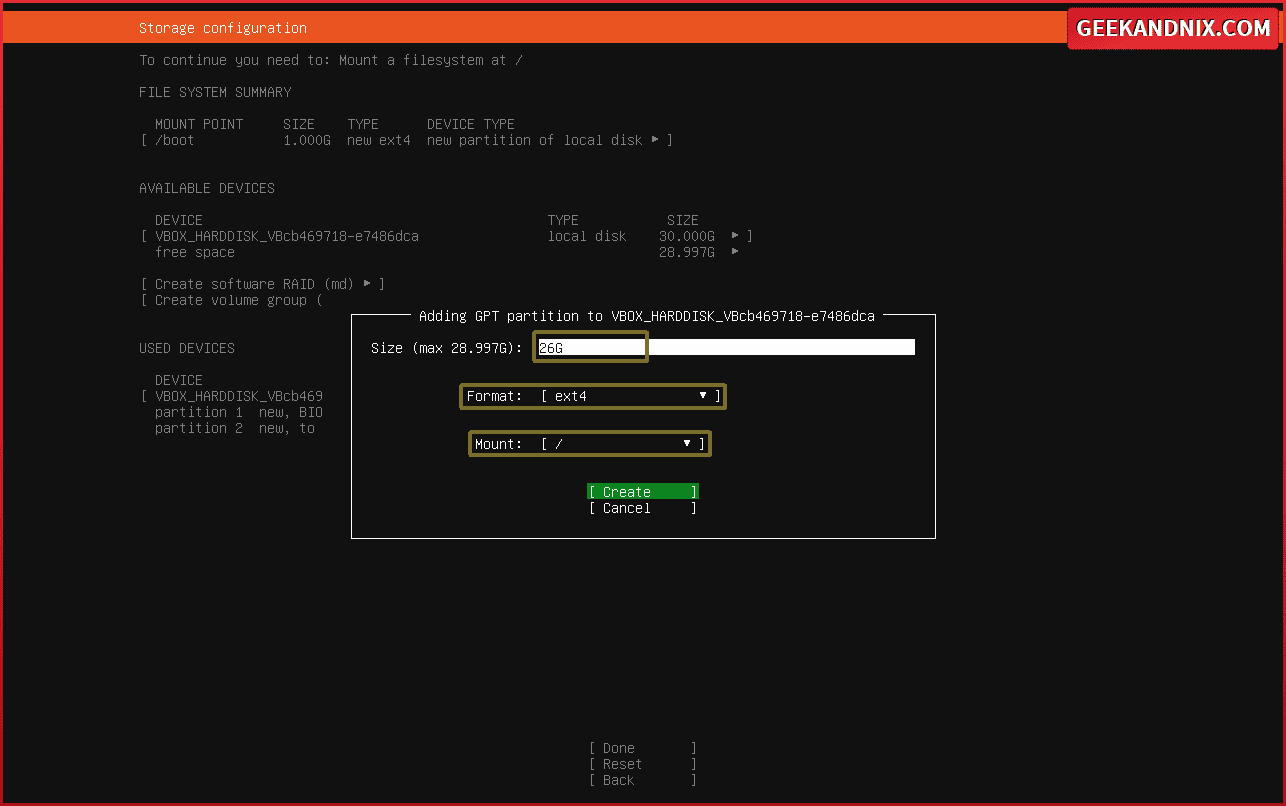
Lastly, input the size to 2G or leave it blank and select the format to swap, then select Create and press ENTER.
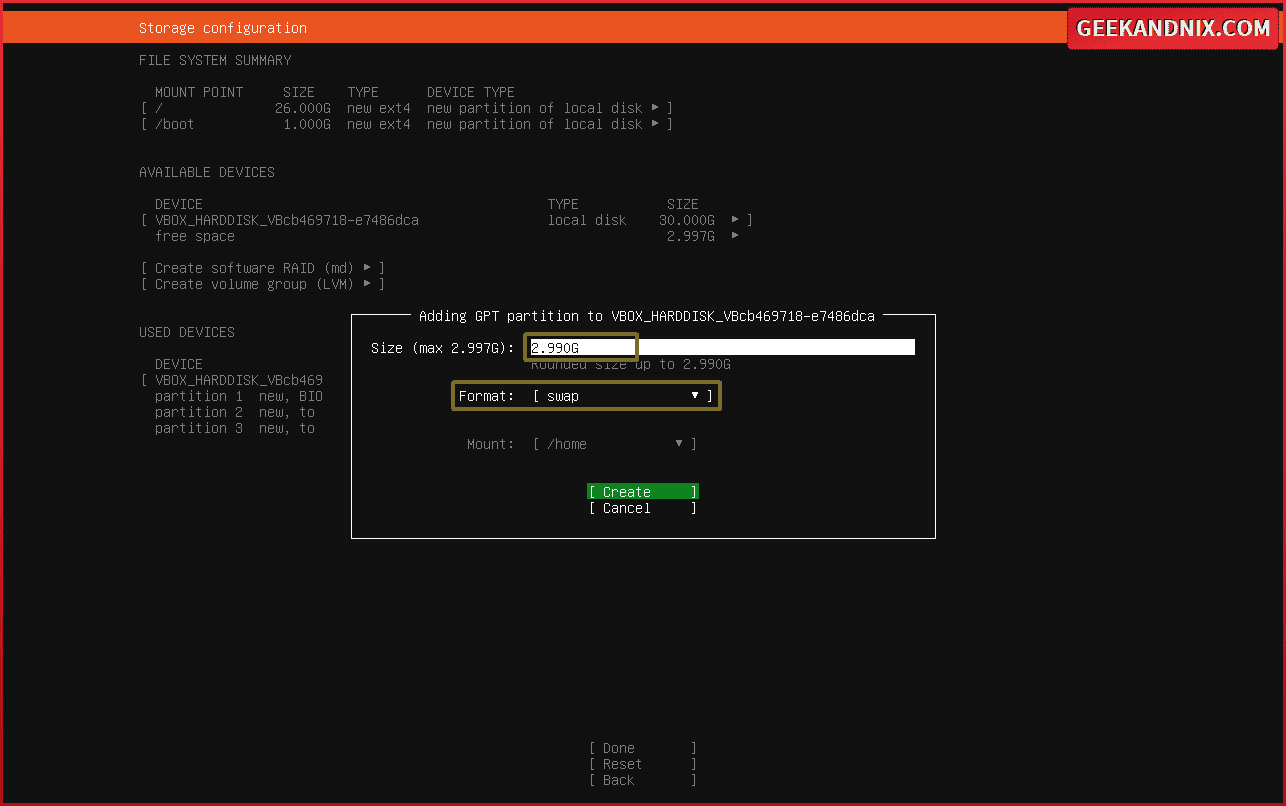
With the storage configured, you should see the details of the partition layout in the following screenshot.
Select Done and hit ENTER to confirm.
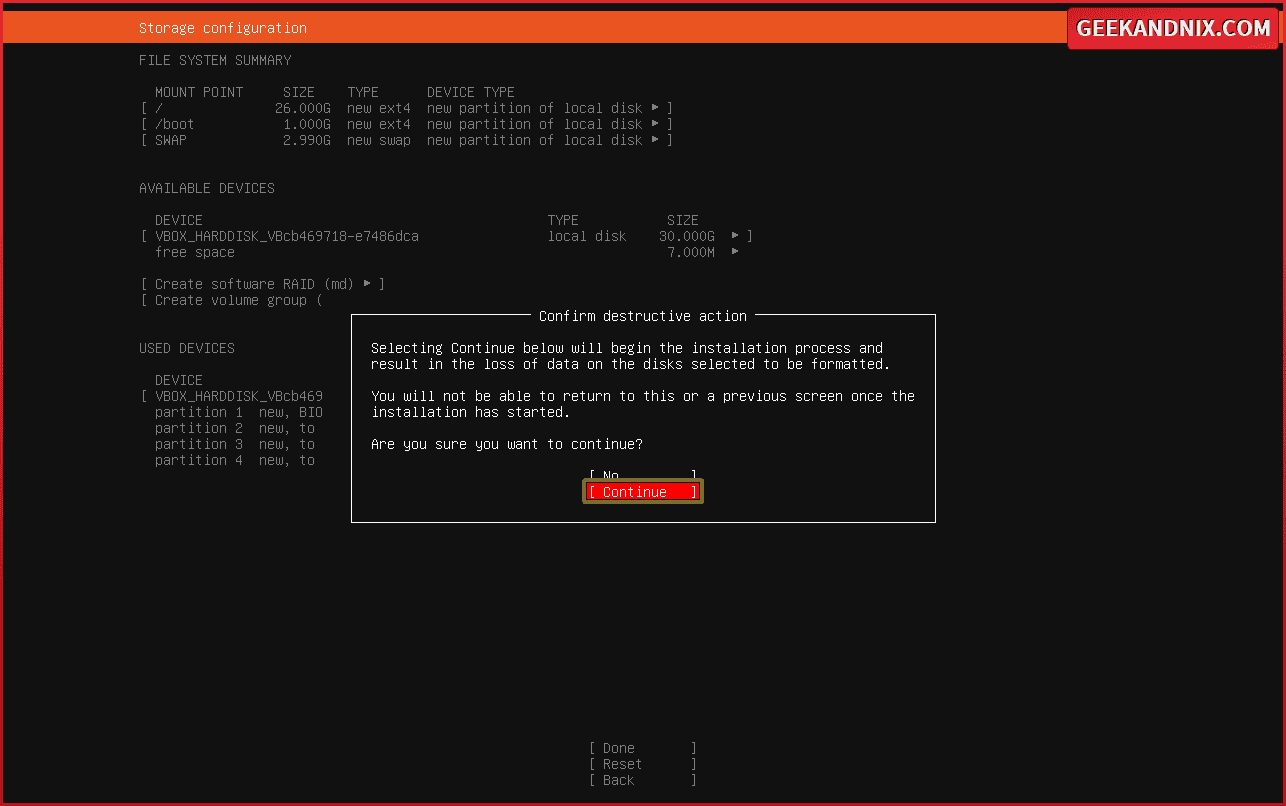
Now select Continue to confirm and format your disk with the new partition layout.
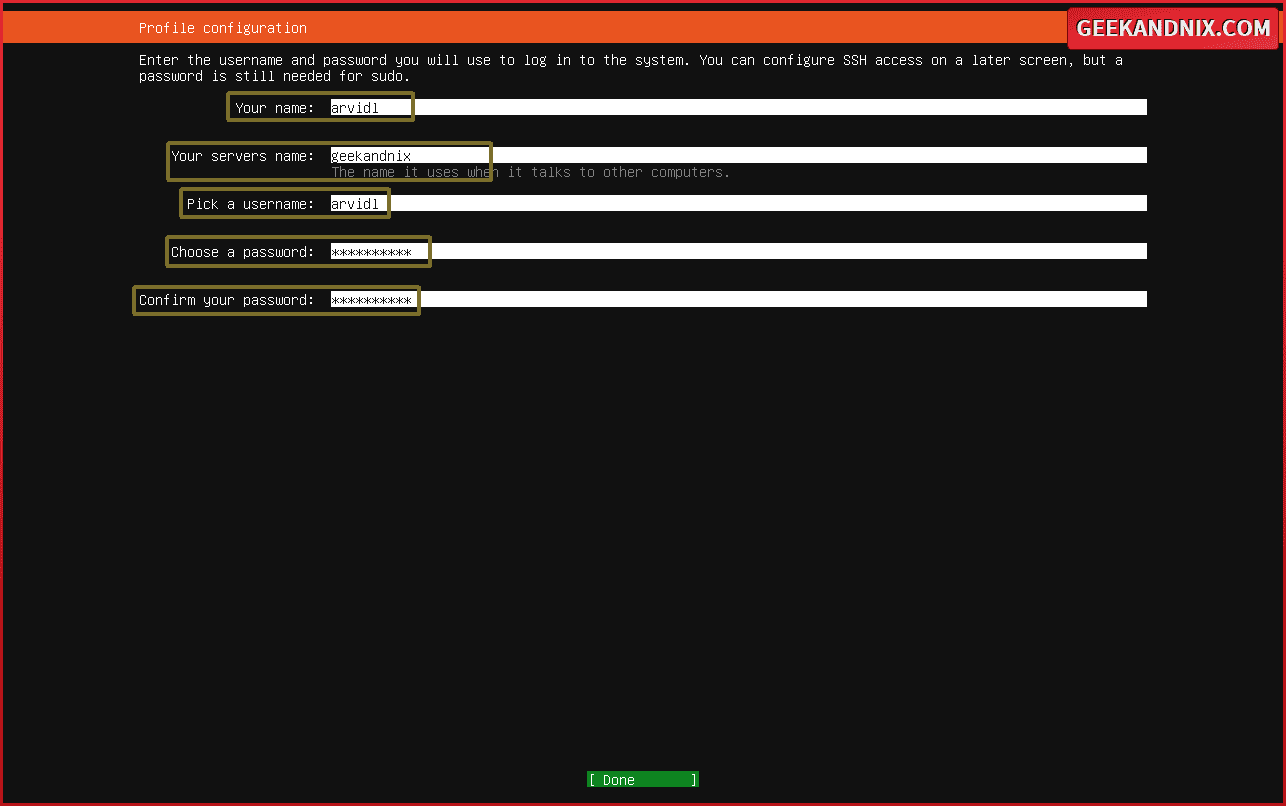
Step 7 – Setting up user and system hostname
Input the system hostname for your Ubuntu server and the first user that you want to create. And be sure to use a strong password.
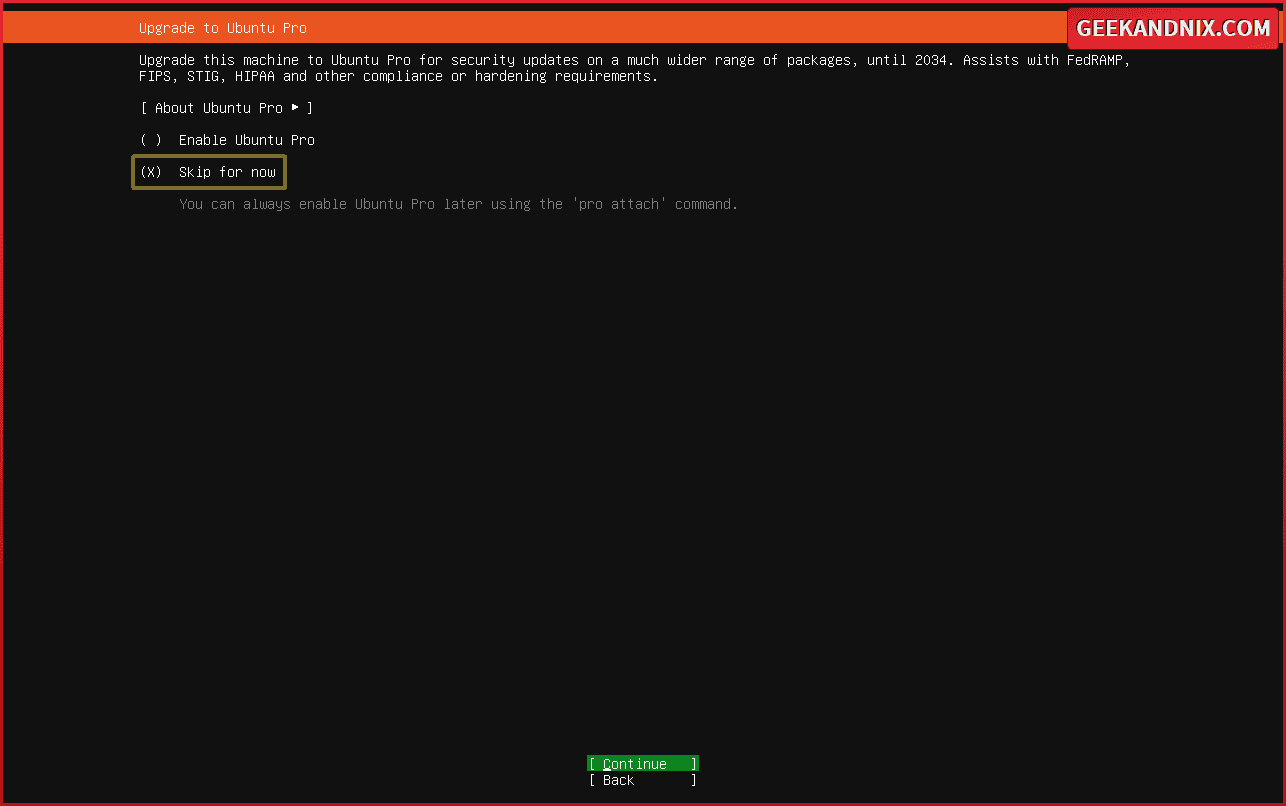
Step 8 – Skip: Upgrade to Ubuntu Pro
If you’re interested in dedicated support and additional security updates, you can enable Ubuntu Pro support.
As for this example, select the option ‘Skip for now‘, then select Continue and press ENTER.
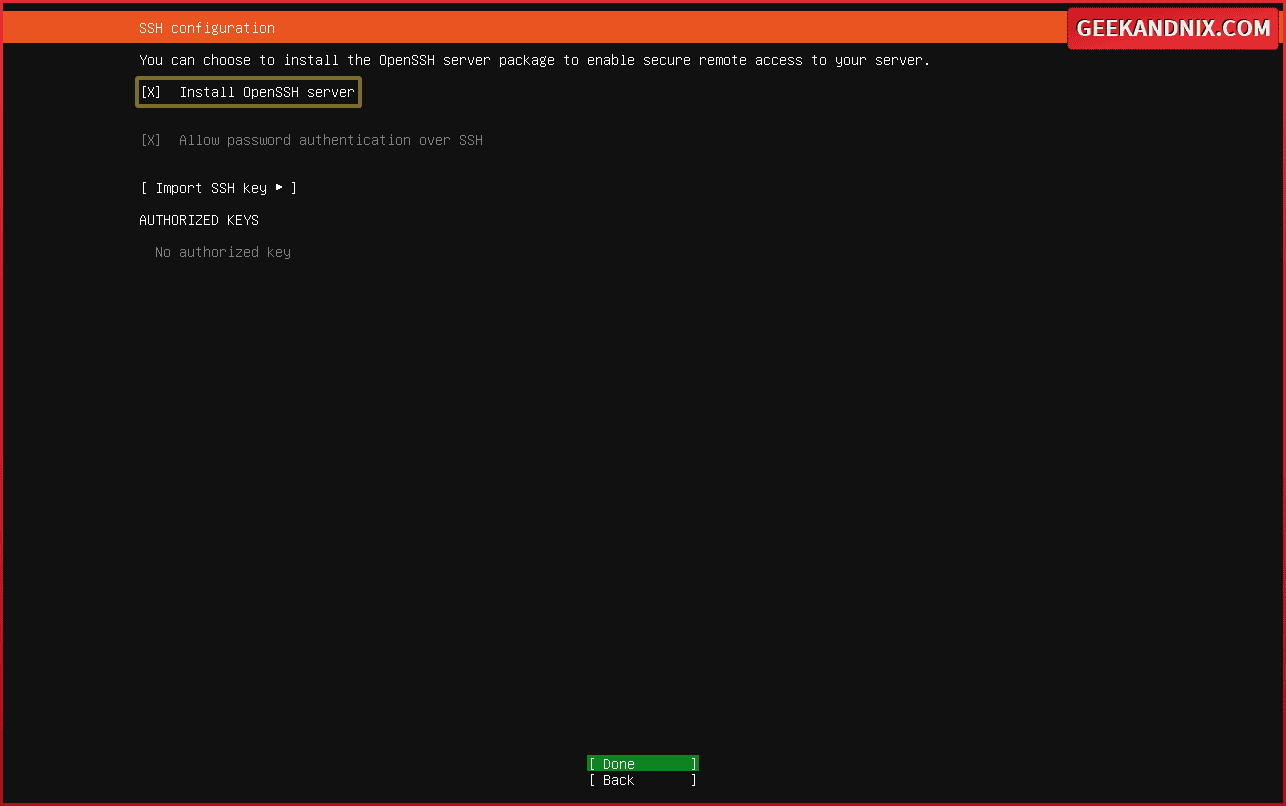
Step 9 – Installing OpenSSH server
Select the option ‘Install OpenSSH server‘ and be sure that your internet connection is working. Then, select Done and hit ENTER to confirm.
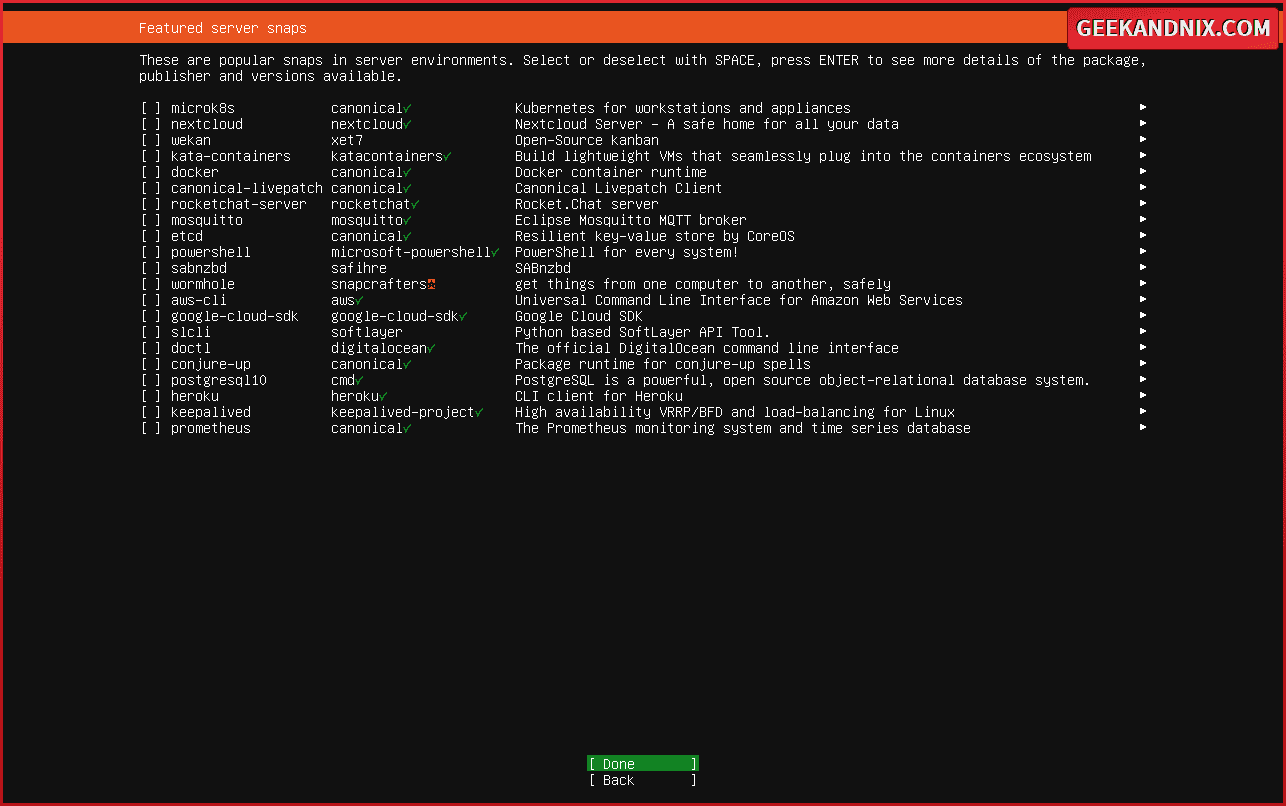
Step 10 – Skip: Featured Snap applications
If you want to install Snap applications, you can select the application name. As for this example, skip the installation of snap applications. Select Done and hit ENTER again.
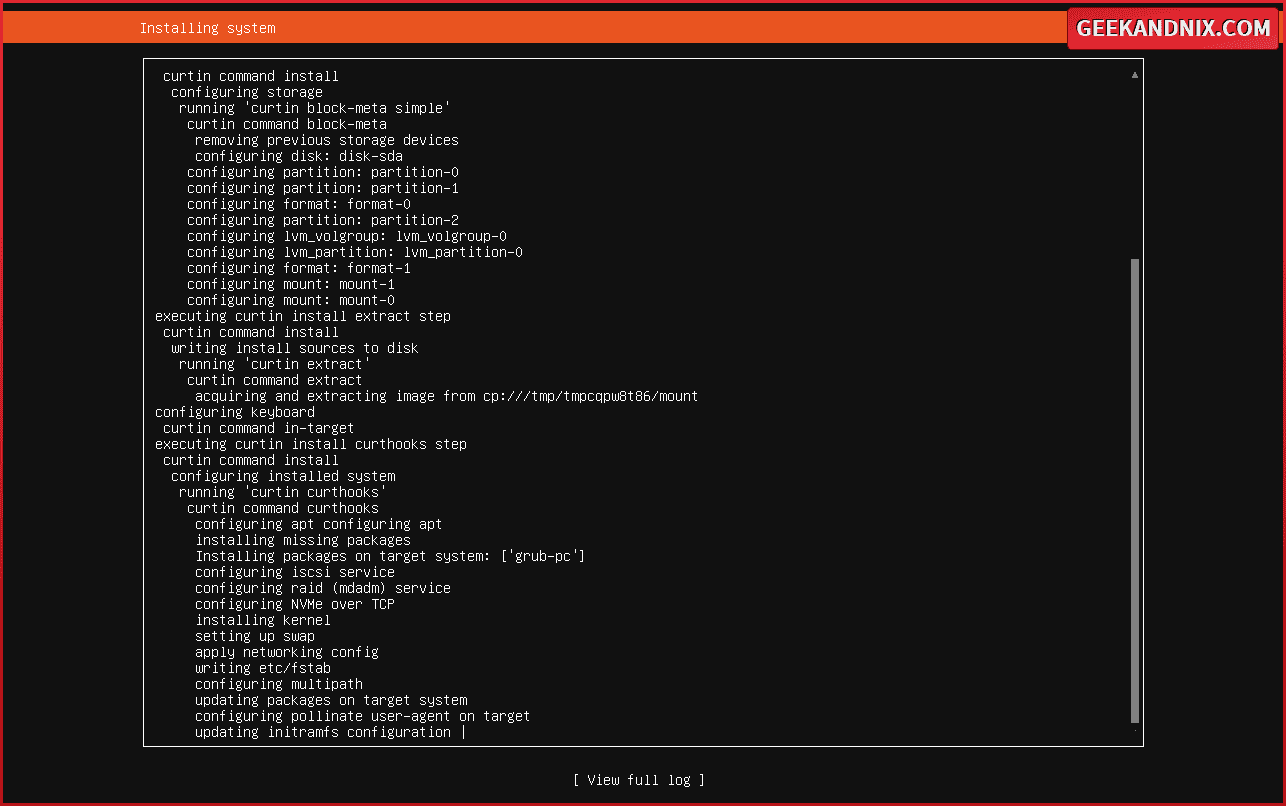
Step 11 – Installation process of Ubuntu 24.04 server
At this point, the installation of Ubuntu Server 24.04 will be started.
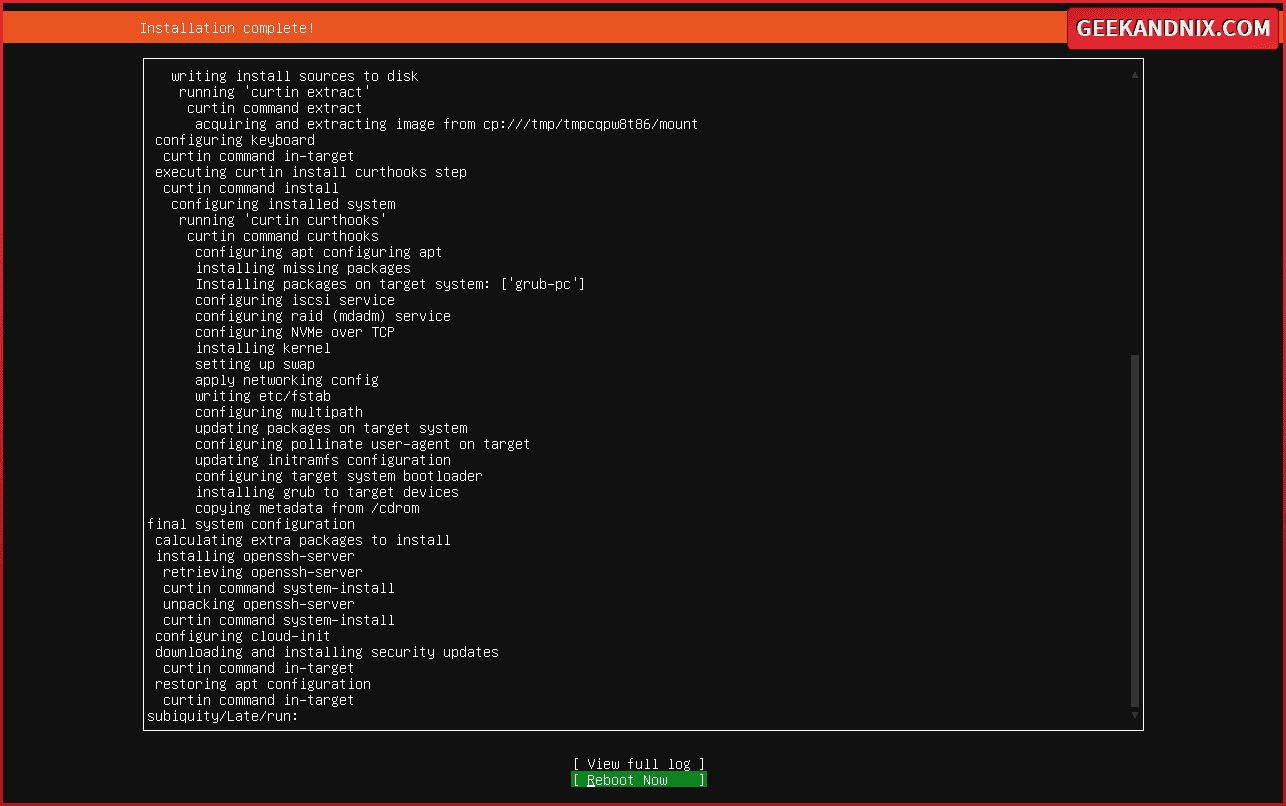
Once the Ubuntu installation is finished, select the ‘Reboot Now‘ menu and press ENTER to proceed.
Step 12 – Logging in to the Ubuntu server
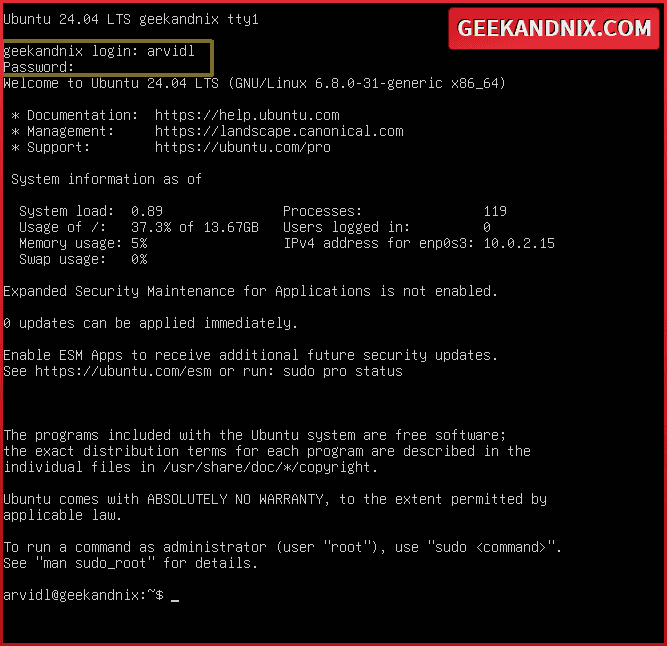
Once the ISO installer is ejected and the reboot is finished, you should get the login screen of your Ubuntu server.
Input your username and password to log in to the server. Once logged in, you should get a welcome message on your screen similar to this:
Step 13 – Upgrading packages to latest version
Type the following command to get the root/administrator privileges. When prompted, input the password for your user.
sudo suNext, enter the following command to update and refresh your Ubuntu package index. Then, upgrade your current packages to the latest version.
sudo apt update && sudo apt upgrade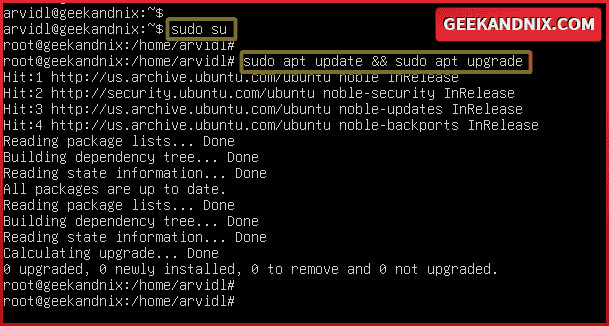
Step 14 – Securing Ubuntu with UFW (Uncomplicated Firewall)
It’s always recommended to enable the firewall on every computer, especially for servers, it must. On the Ubuntu server, the default firewall that was installed is UFW (Uncomplicated Firewall), but it is still not yet to be run.
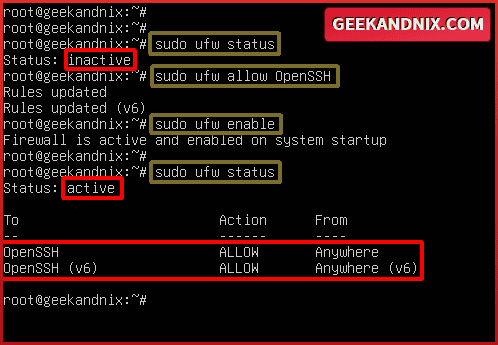
Type the following command to verify the UFW status. When executed, you should get an output ‘Status: inactive‘.
sudo ufw statusBefore activating UFW, enter the following command to add the OpenSSH application to UFW. The ‘OpenSSH‘ application profile on UFW will automatically open the default SSH port 22.
sudo ufw allow OpenSSHNow execute the following command to run and enable UFW.
sudo ufw enableYou should get an output ‘Firewall is active and enabled on system startup‘. This means that UFW is running and it will start automatically upon the system boot.
If you verify again the UFW status, you should receive a different output.
sudo ufw statusAn output ‘Status: active‘ and the ‘OpenSSH‘ application profile added and allowed from anywhere or any IP address.
Step 15 – Logging in to the Ubuntu server via SSH
If you’re using Linux as the client machine, then open the Terminal application. For macOS users, open the iTerm application. As for Windows users, you can download and install Putty, and then open it when installed.
For Linux and macOS users, type the following command to connect to your Ubuntu server via ‘ssh‘ command. You must change the username and the IP address in the following command.
Type ‘yes‘ to confirm and add the SSH fingerprint of your Ubuntu server. Then, input the password for your user.
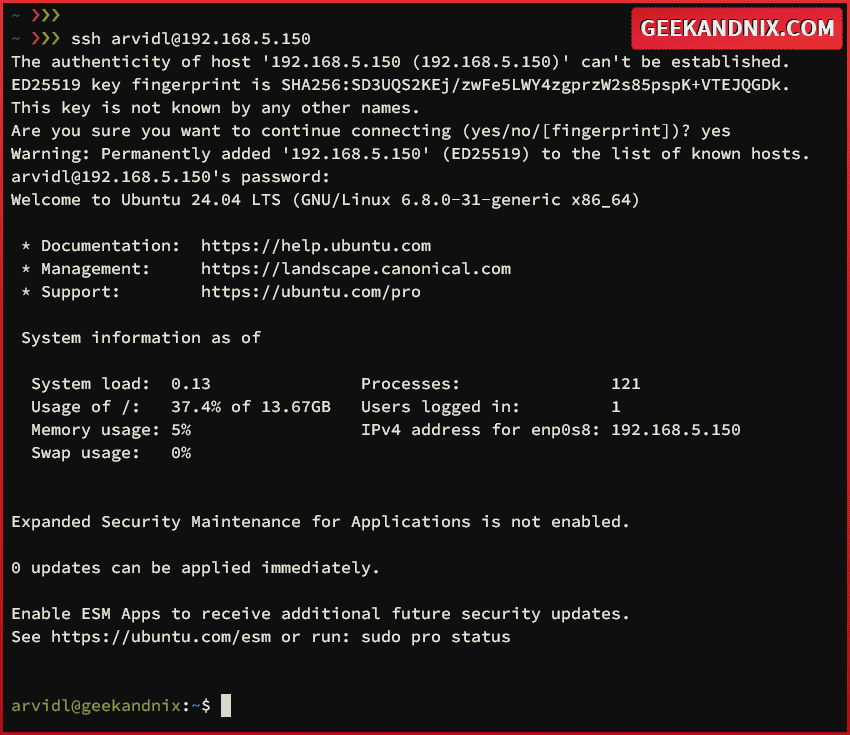
That’s it. You have now successfully installed the Ubuntu 24.04 server (Noble Numbat) and logged in via SSH connection.
Conclusion
In this guide, you have learned how to install the Ubuntu 24.04 server (Noble Numbat). You have also learned the basic initialization of the Ubuntu Server by updating and upgrading packages to the latest version, setting up and enabling the UFW firewall, and logging in to the Ubuntu server via SSH. With this in mind, you can go a step further by setting up a static IP address, and then installing fail2ban to secure your Ubuntu Server from brute-force attacks.


